Immersive Exhibit

This step-by-step guide walks you through the setup for creating a slide deck in Unity for display at the CRAIVE-Lab.

Before you begin...

Here is a list of things you should have on your computer:

In general, the procedure is very much a drag-and-drop process, with some preparation of your slide images.

Sprite Conversion

Step 1

Select your slide image in the designated folder you made in the Assets folder. On the inspector, you should see the image's Import Settings.

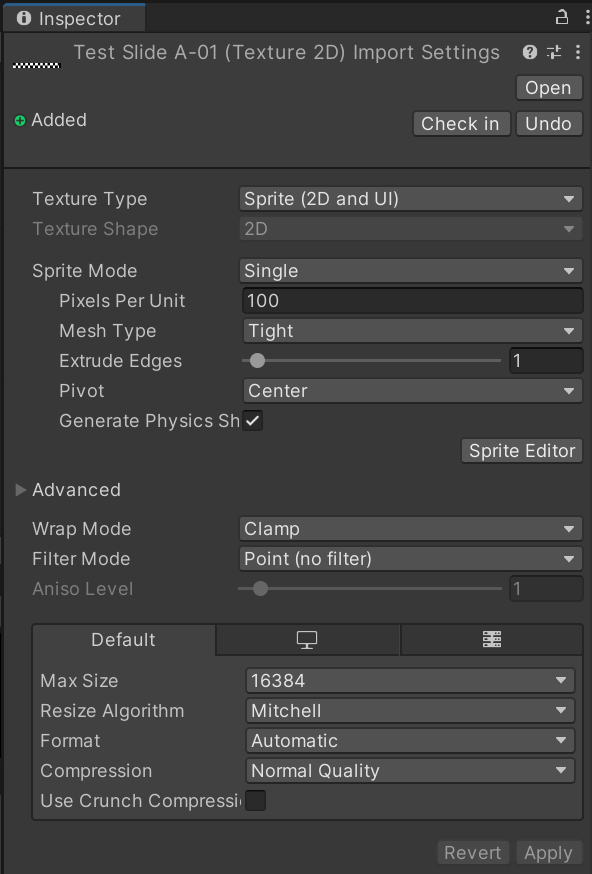
The Import Settings interface of the slides with the correct setting.

Step 2

Change the following import setting parameters to their respective values:

Parameter
Value

Texture Type

Sprite (2D and UI)

Filter Mode

Point (no filter)

Max Size

16384

Step 3

When you finish, click on Apply. You should then have a Sprite image with no fuzzy edges and an enlarged file size.

You can select multiple images of the same type and configure them collectively.

Slide Loading

Step 4

Import the special asset package into your Unity project. Under C03_Slides --> Prefabs, you should be able to find the SlideDeck prefab. Drag it to the scene you designated for the slides.

Step 5

Click on the SlideDeck in your scene. In the Inspector, you should see a C# scripting component called Slide Deck Manager.

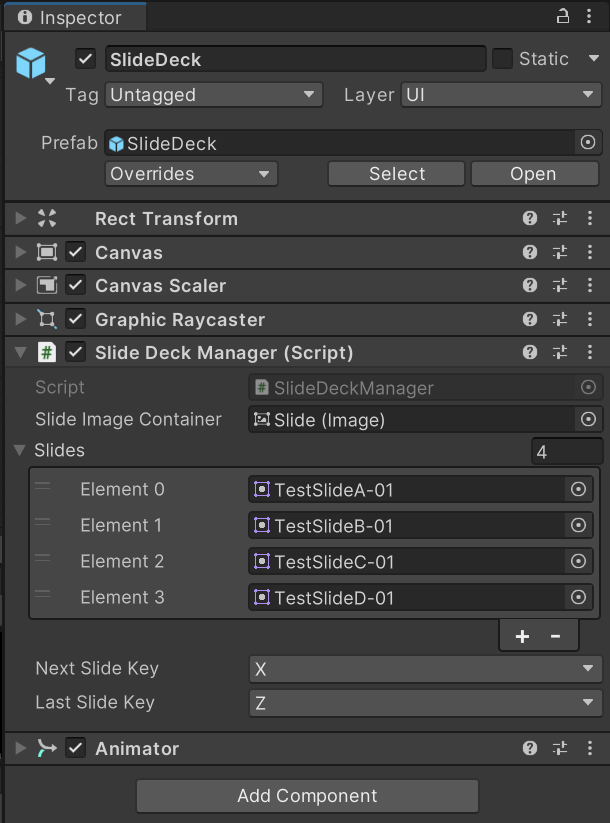
Slide Deck Manager in the SlideDeck prefab, with 4 placeholder slides loaded.

Step 6

In the Slide Deck Manager component, under Slides, type in the number of slides you have (in the above image: 4). When you do this, a column of input elements will show up prompting you to put Sprites in (in the above image, Element 0-3).

Drag all your slide images, now as Sprites, in the correct order you wish to present.

Optionally, you can change the keys you want to use to control the switching of slides by clicking on the drop-down menu for both Last Slide Key and Next Slide Key.

Step 7

Hit play and enjoy!

Last updated